
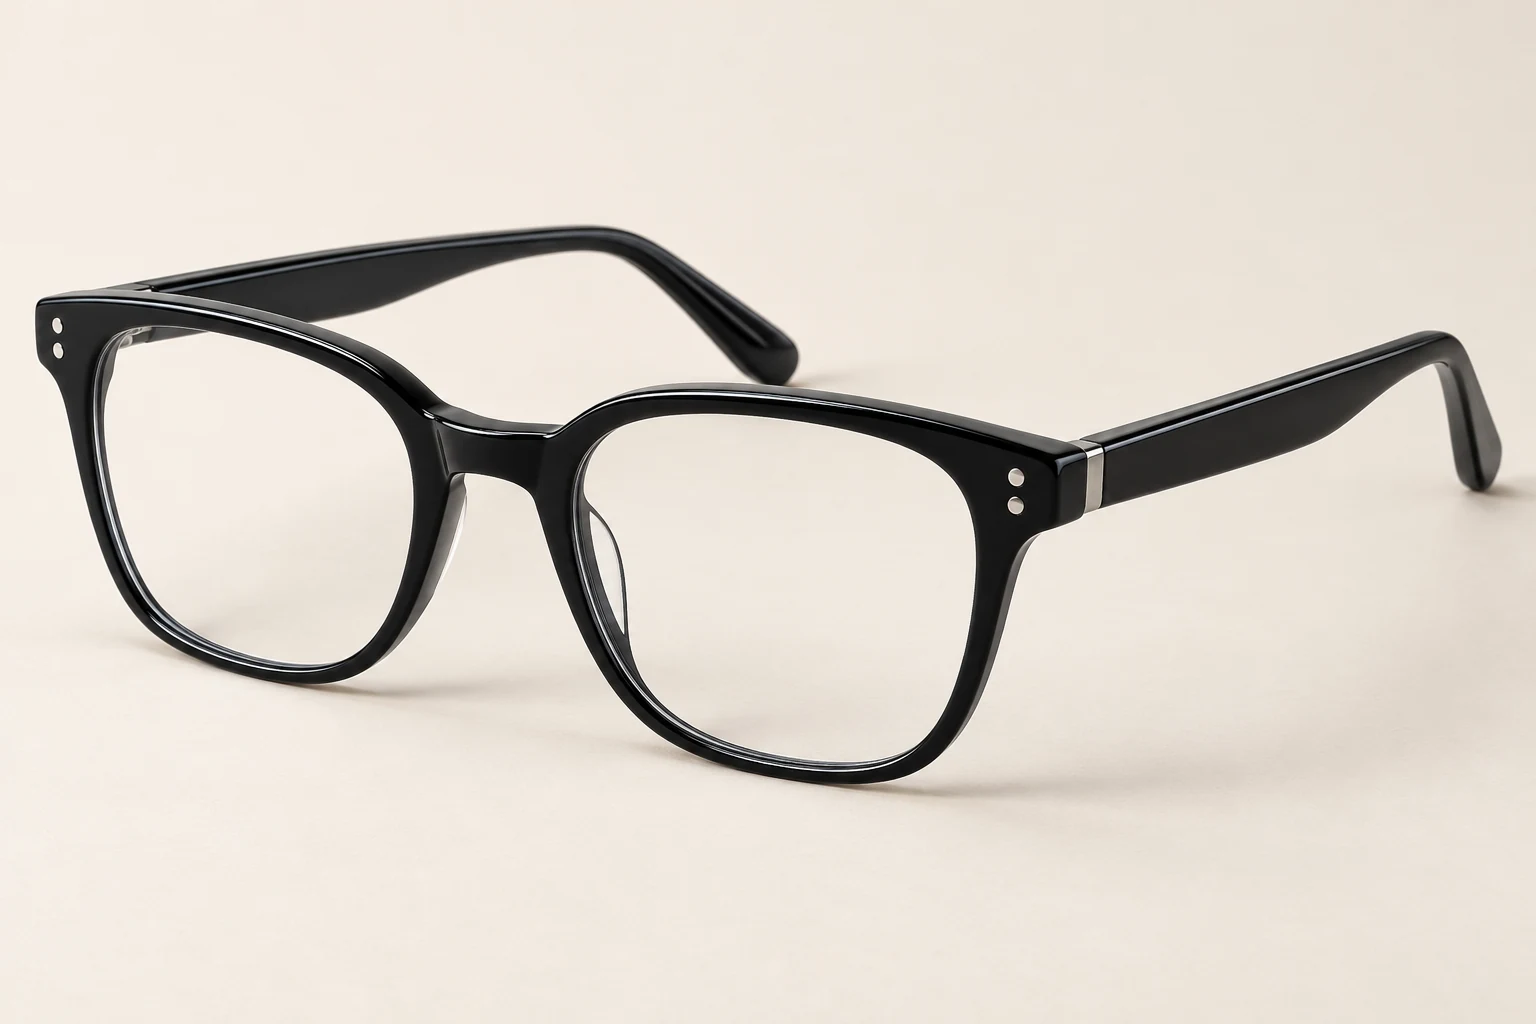
Put a reference photograph of the actual pair beside the working image. Agree which studio reflections need attention and which highlights help the viewer see the lenses. That gives the editor something more useful than “make them clear.”
Record the lens characteristics
Ask the product owner to identify visible tint, gradients, mirrored surfaces and other appearance differences between variants. Use photographs of the actual item as the visual reference. A written description such as “light grey” cannot resolve every ambiguity in a reflective surface.
Keep the front and oblique views available together. A reflection in one frame may reveal an edge or curvature that is difficult to understand from the front alone. Reference views support judgement; they should not be treated as permission to transplant unrelated detail.
If the source does not show a relevant lens characteristic clearly, request another photograph before defining the desired final appearance.
Specify reflection changes precisely
Identify unwanted studio elements individually: a recognisable camera shape, a distracting bright patch or support equipment. State which reflections should remain because they help explain the surface.
Avoid instructions such as “remove all glare” without a marked example. An editor needs to know whether a subtle highlight is acceptable and whether the lens must remain distinguishable from the space around it.
For lenses viewed against a changed background, review what is visible through the lens area. A simple transparent hole can lose tint and produce an implausible separation between the frame and lens. Any reconstruction must follow the approved reference rather than aesthetic preference alone.
Check the boundaries
Inspect the bridge, nose pads, hinges and the inner rim. These small structures can disappear when lens areas are selected or brightened. On rimless styles, the lens edge itself needs explicit attention.
Compare both lenses without forcing perfect symmetry. Their reflections may differ because they face the camera at different angles. Matching them mechanically can remove useful information about the photographed object.
Review the result at the final display size. Strong edge enhancement that looks precise close up can create a visible halo around a thin frame.
When reflection cleanup changes the tint
Hypothetical example.
A pair of lightly tinted glasses contains a distracting rectangular studio reflection over one lens. An oblique reference confirms the tint and shows the lens edge clearly.
The brief asks for reduction of the rectangular reflection while retaining a restrained surface highlight. At review, the edited lens is noticeably clearer than the other. The team compares it with the source and restores the visible tint instead of approving the cleaner appearance by default.
FAQ
Should lenses be equally transparent on both sides? Judge the actual product and viewing angle. Similarity may be appropriate, but exact visual matching can contradict the source lighting and geometry.
Can an image demonstrate protective performance? An edited photograph is not evidence of optical or protective performance. Keep visual approval separate from any product claims requiring their own substantiation.
For an eyewear retouching request, identify the actual lens variant and mark the reflections that need attention.